(You might want to wear some gloves as it can cut your hands!)
First- Rough up your license plate(s) You want them to look worn and weathered. Use a hammer, a metal file, something to roughen it up!

Then you will want to decide- do you want a 2 piece or a 3 piece layered pauldron. On the back draw your line(s) and then with metal cutters, cut your plate(s) where you drew your line(s).
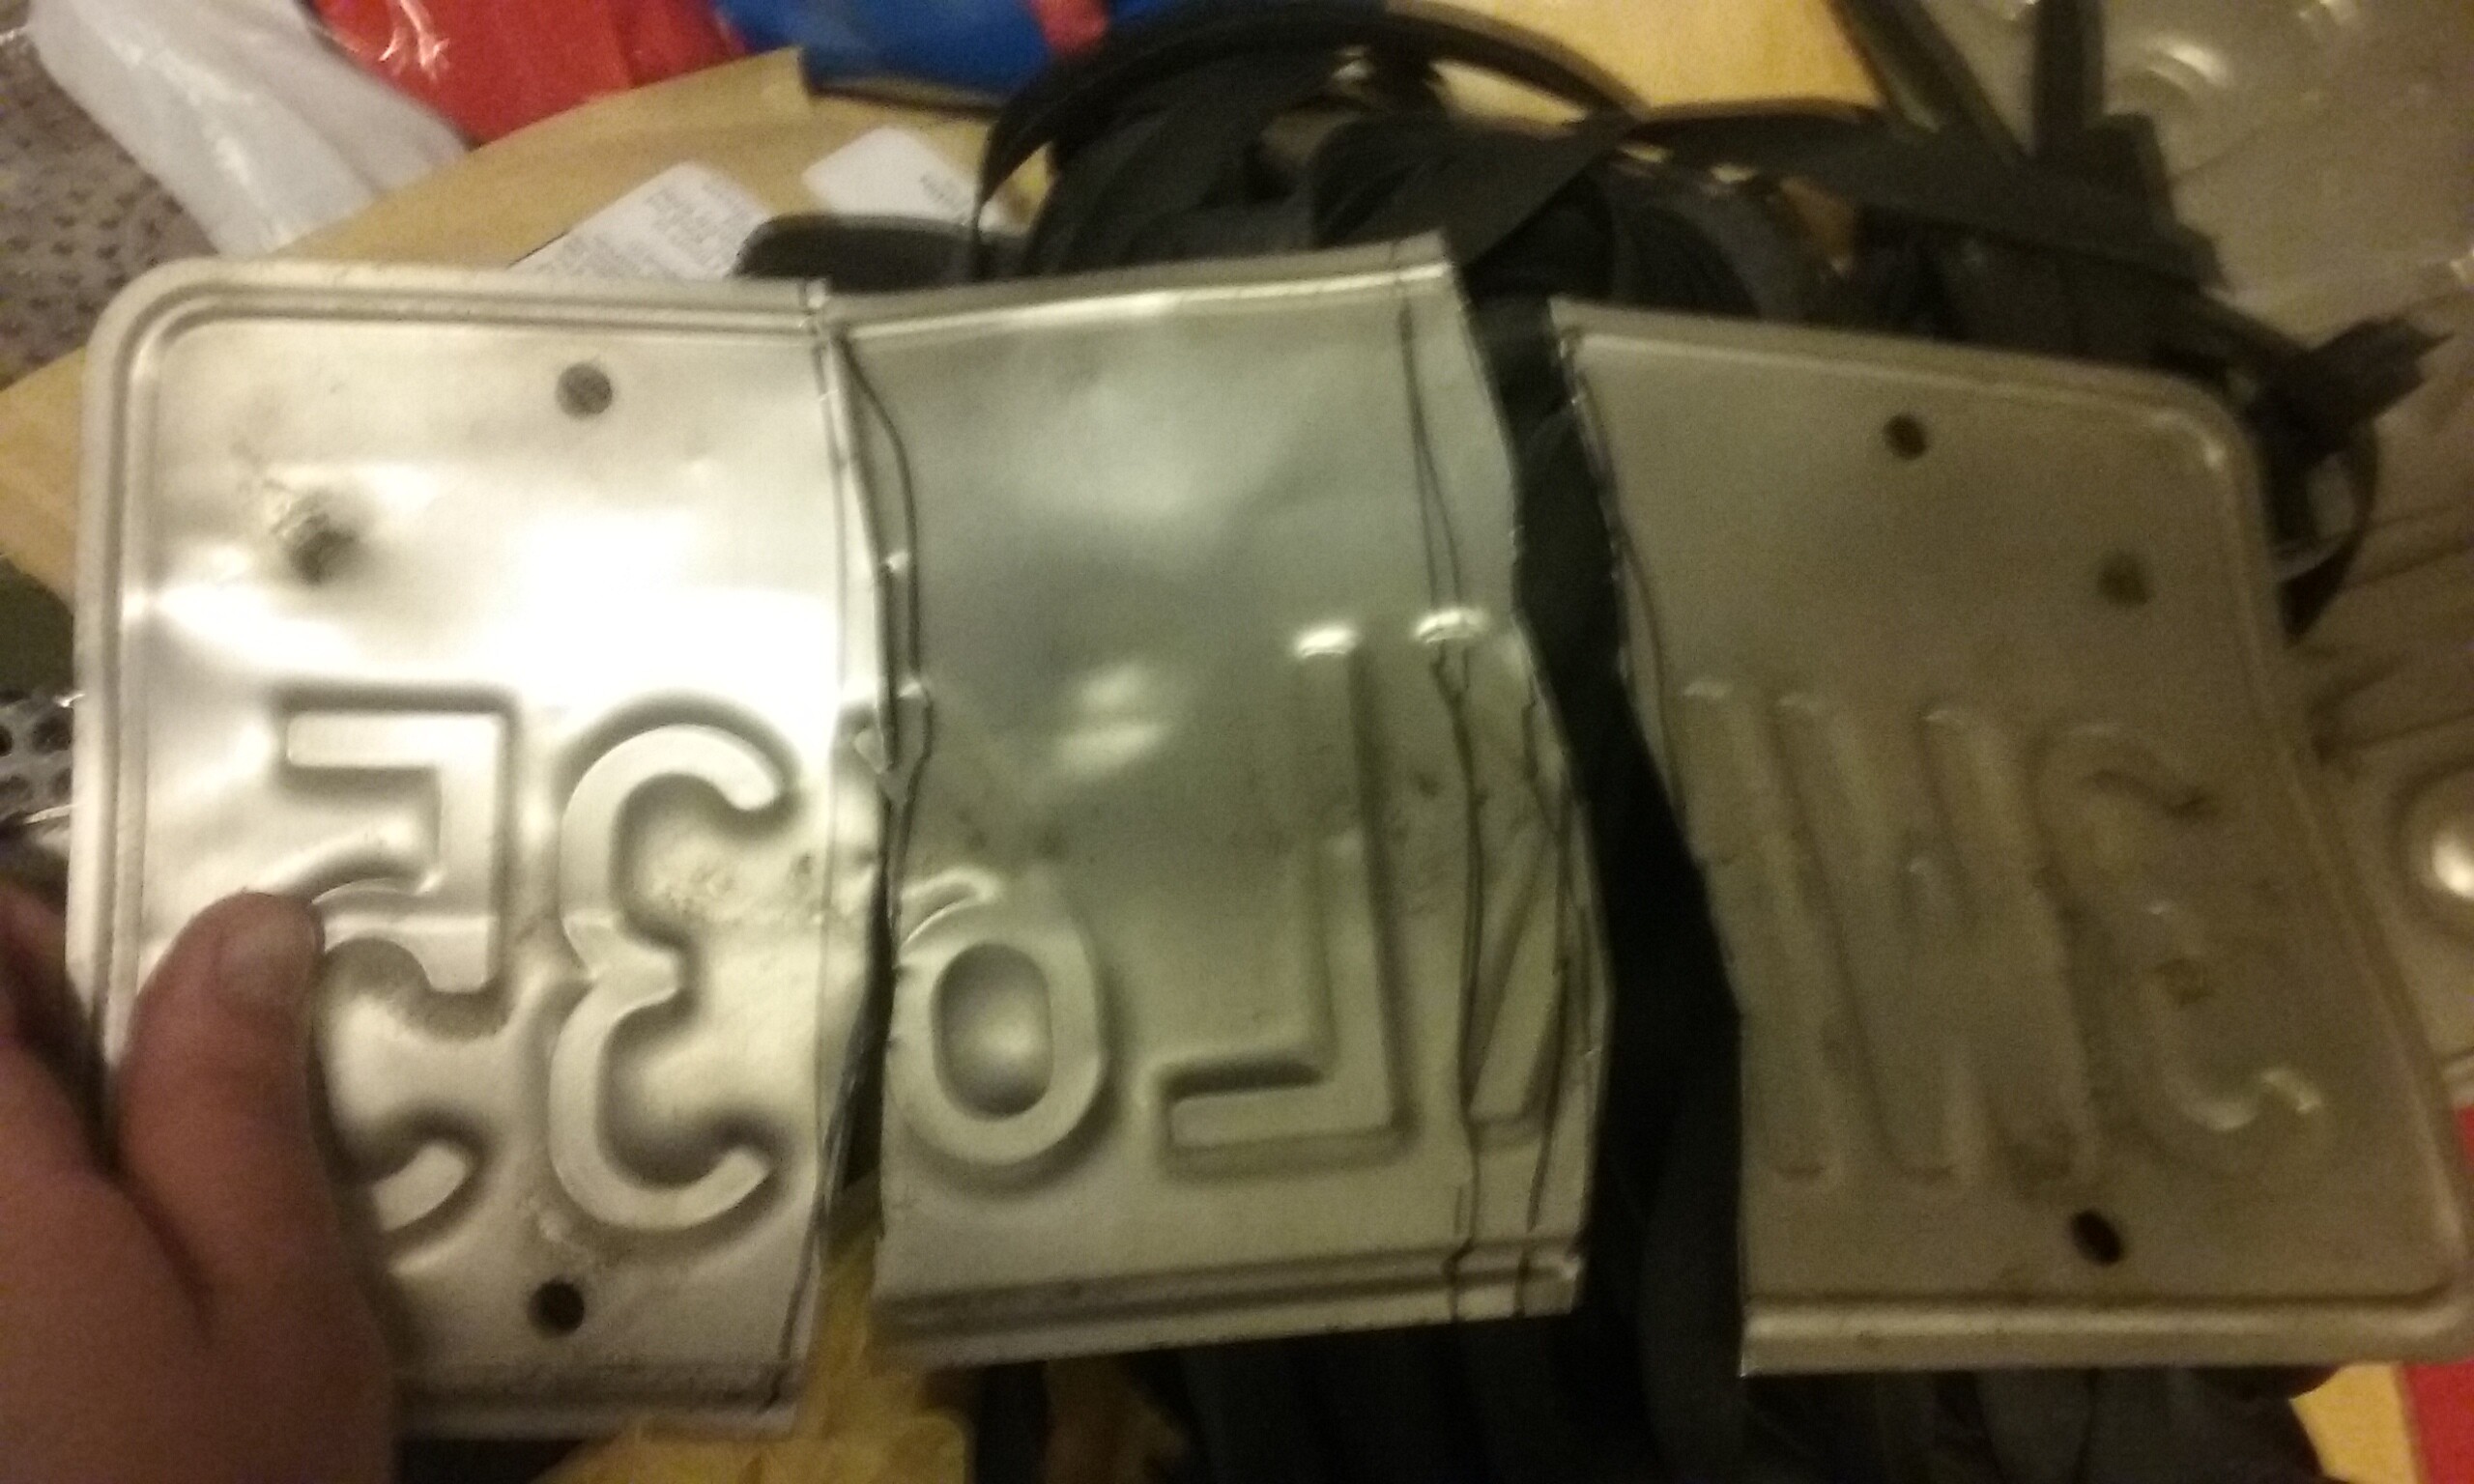
If you are cutting your plate into 3 pieces- you need to make 2 holes- one on either side of the middle piece by pounding a screwdriver through, an electric screwdriver or a dremel.
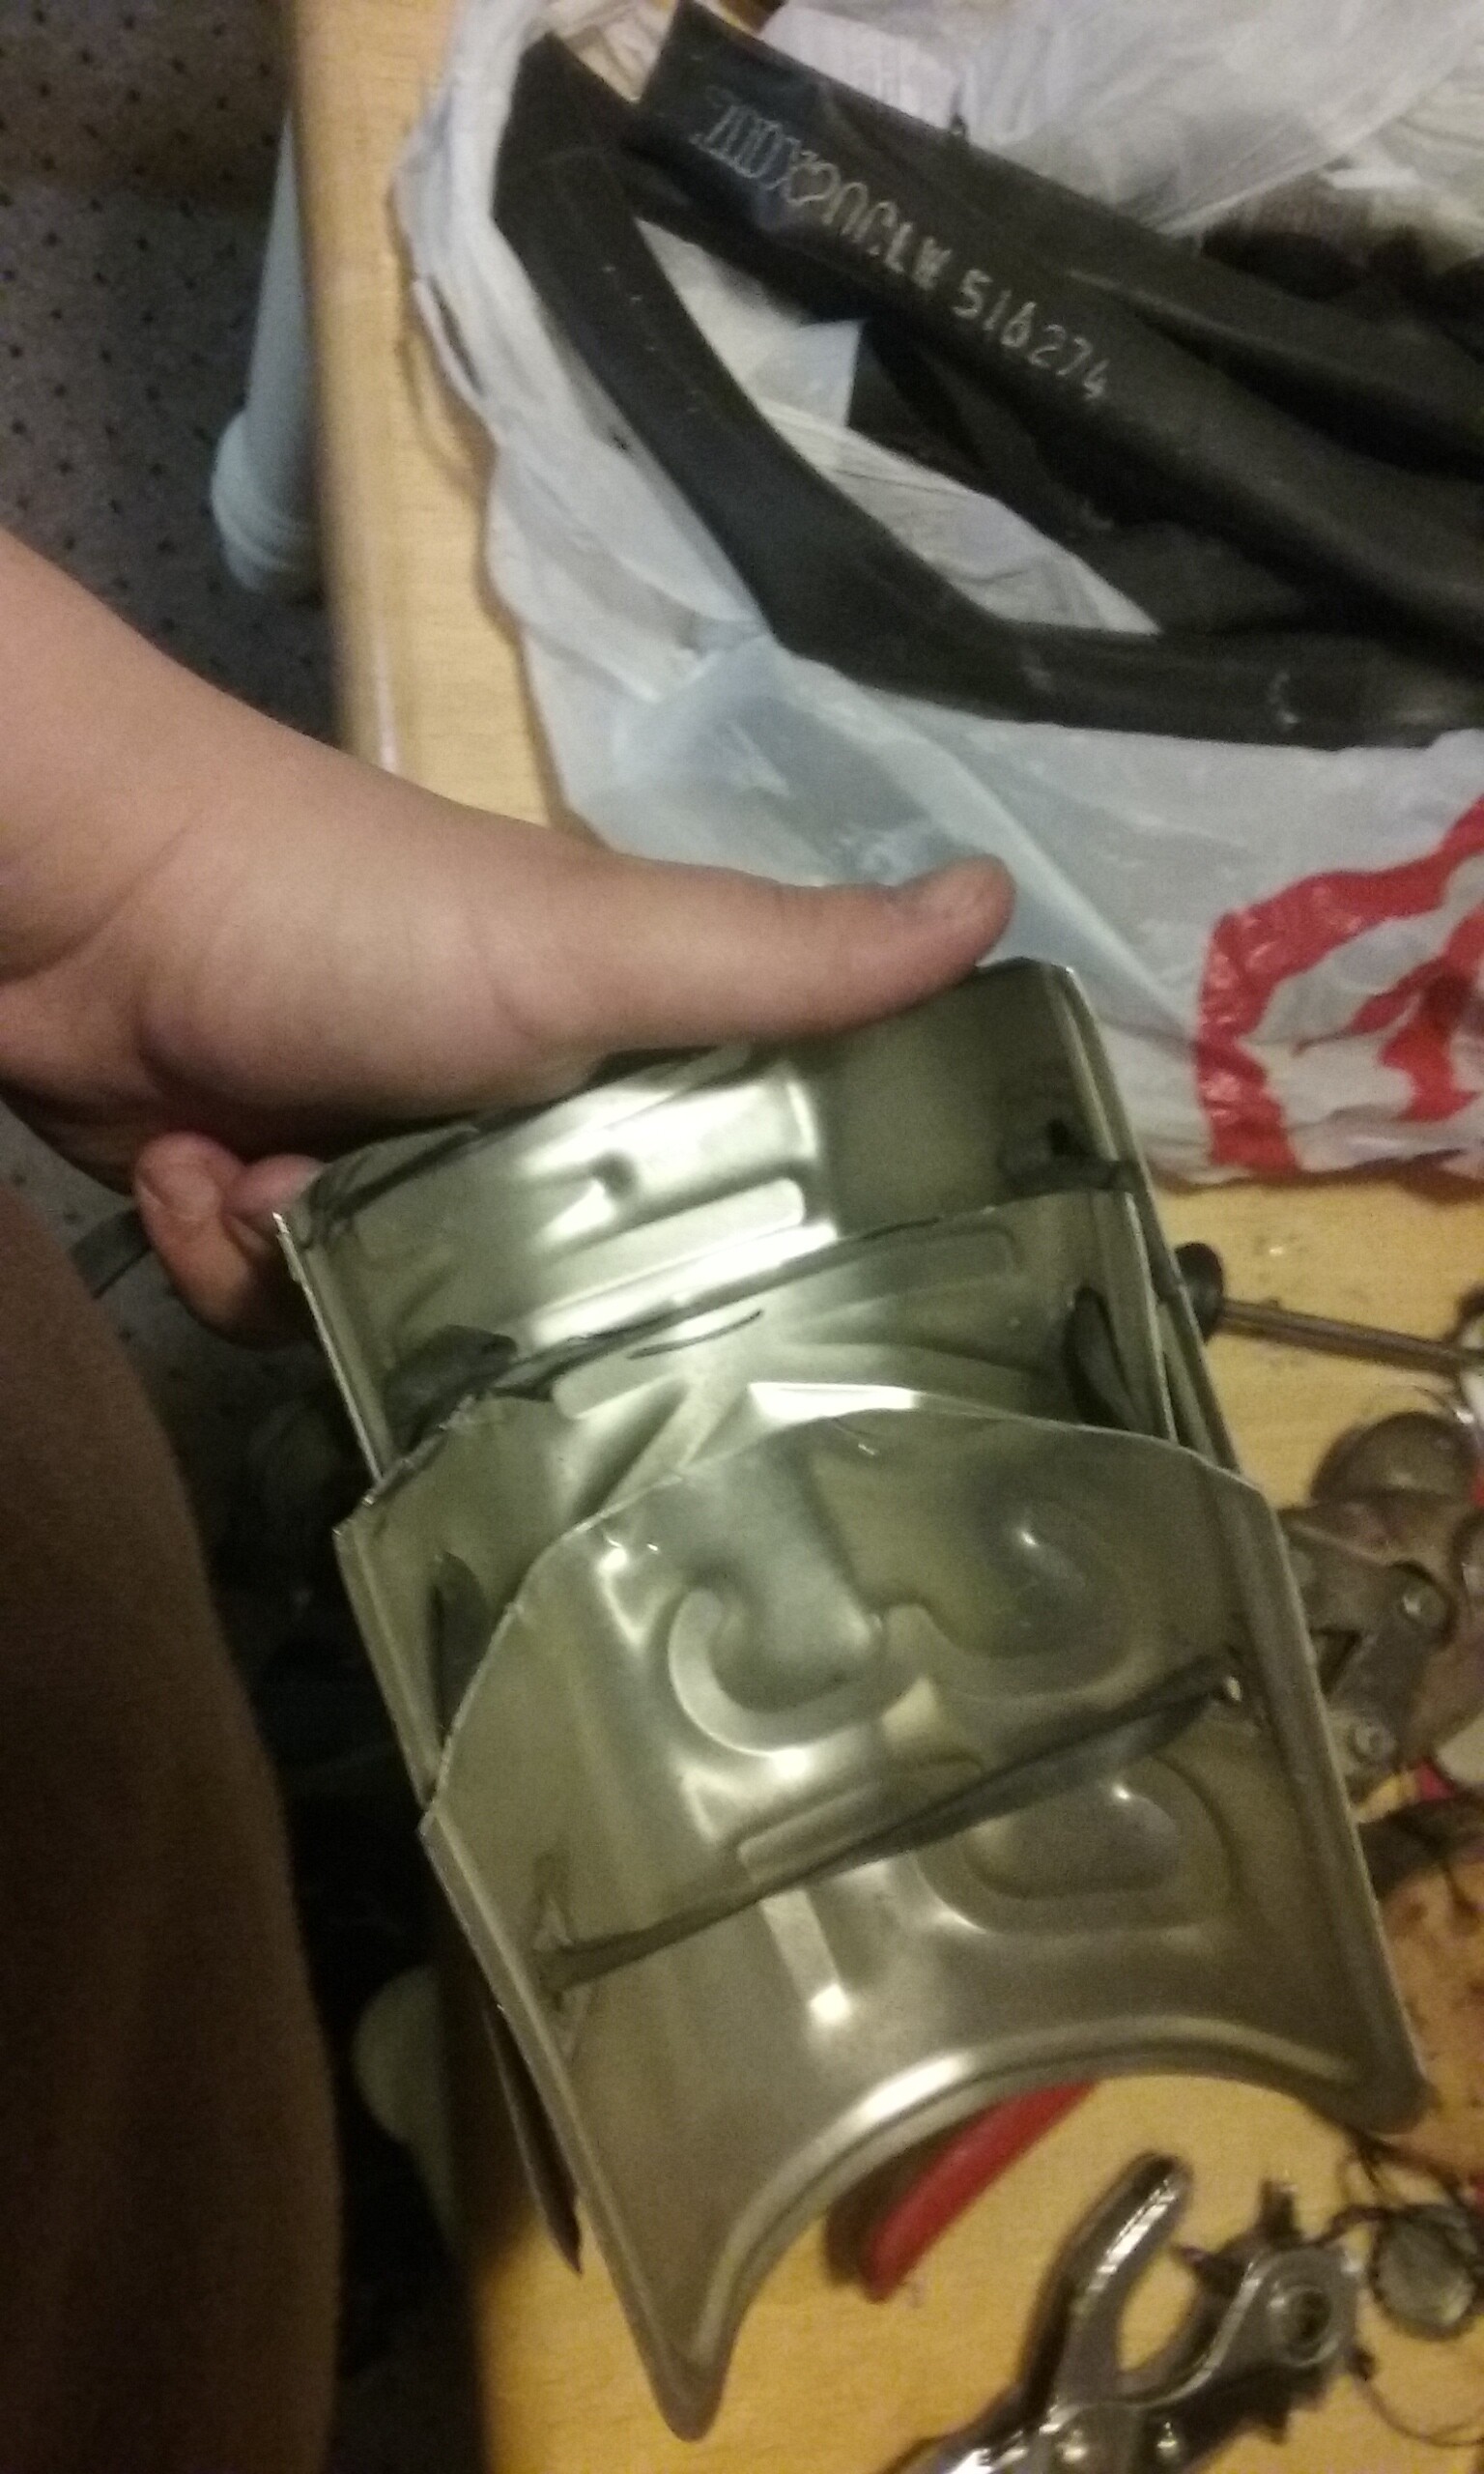
Now you want to round and shape them. Either before or after shaping them you need to take your metal file and file down all those sharp edges!

Figure out how spaced out you want to make them.

Now you want to thread through the holes in the order you want the pieces to be. Or you can rivet it to some footbal gear or leather shoulder strap or jacket.. ect.
If just threading something through, tie a knot under each piece to keep it in place. (which is not shown in the picture.)

The basic shape the piece should come out to- you can add it to sports gear- a new individual shoulder piece- a jacket.. ect.

Also on youtube Nuclear Snail Studios has some great tutorials for apocalyptic gear- check him out:

If you have any questions- feel free to ask!
Hope you enjoyed this tutorial! (I would love to see your creations! Please post pictures of your apocalyptic gear below!)